

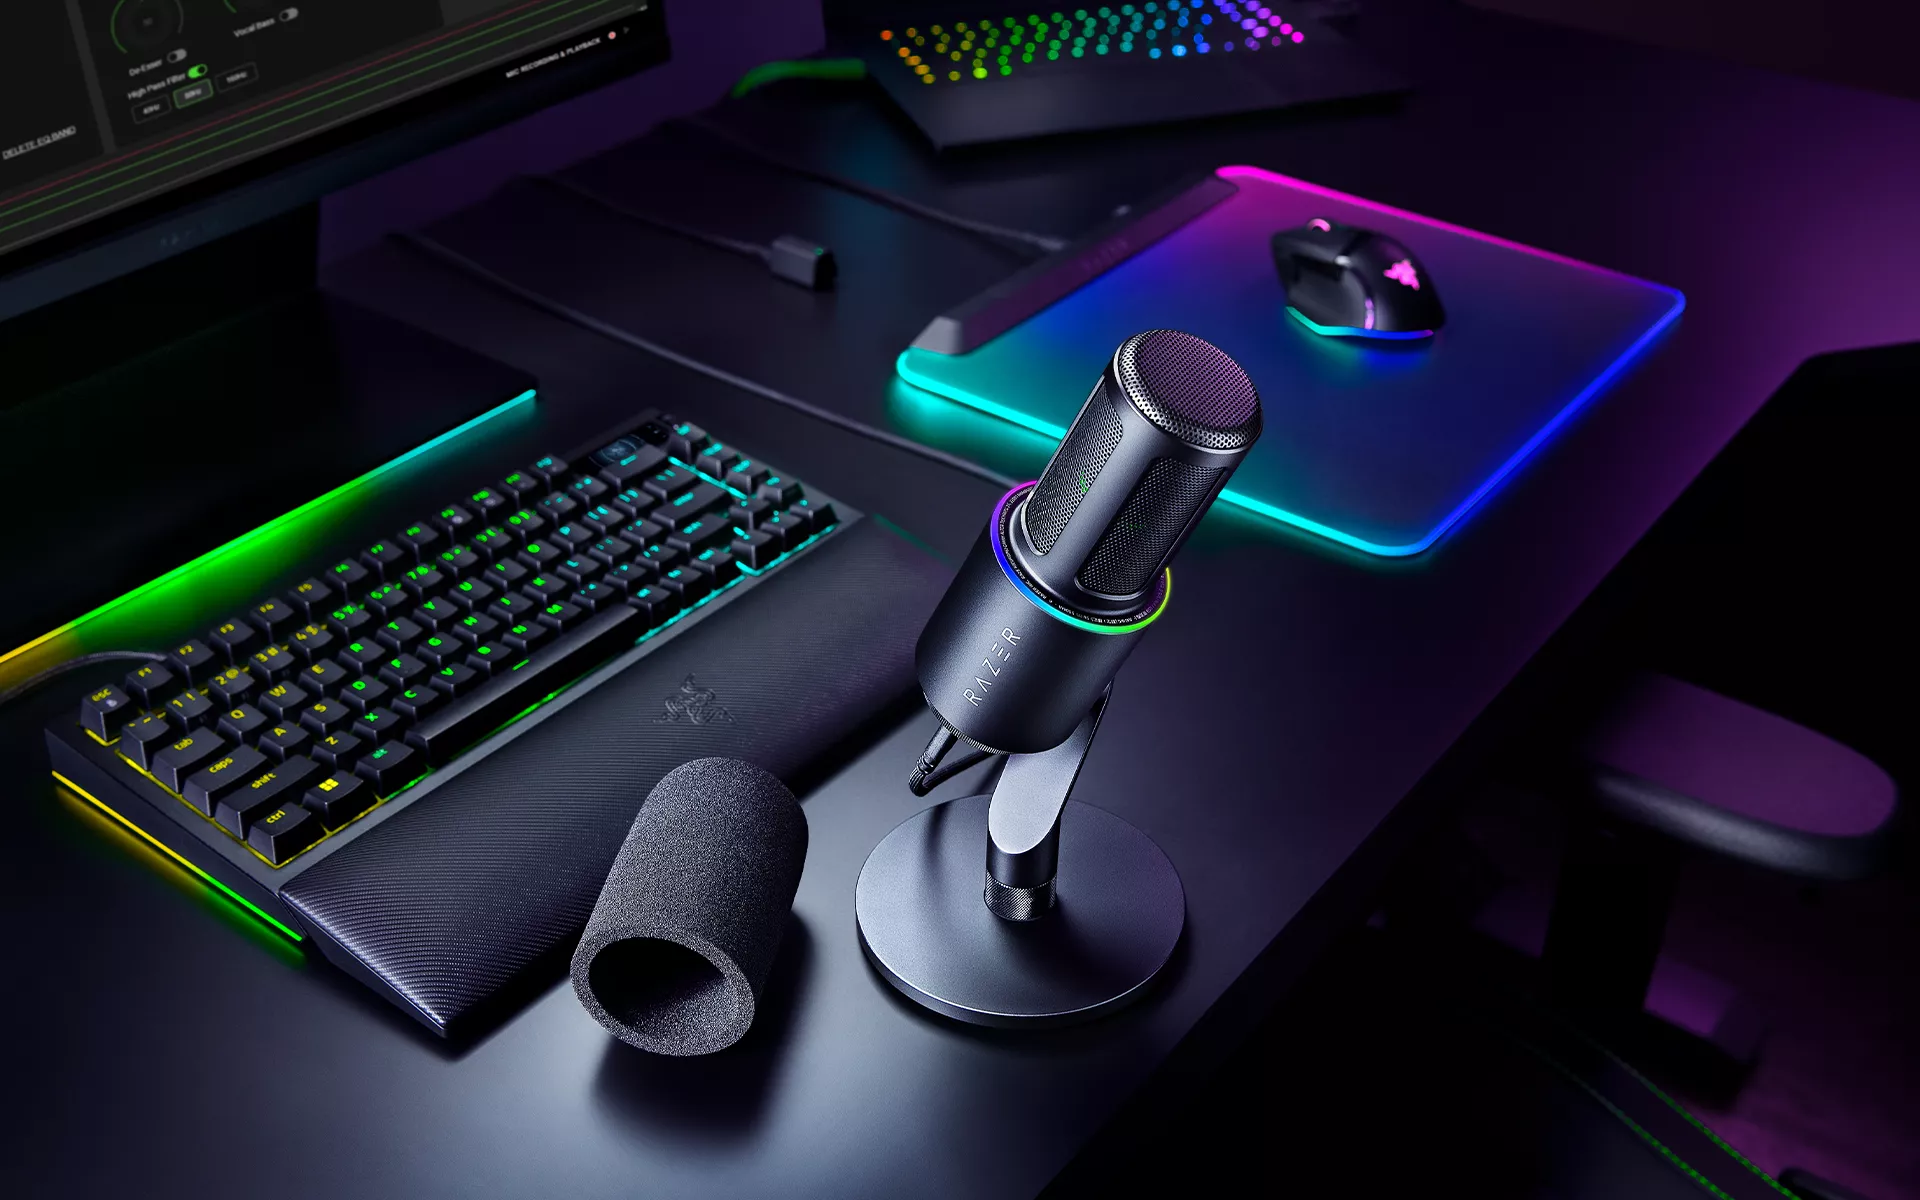
Whether you’re chatting with your community, recording a podcast, or reacting to a clutch play, your voice should be easy to hear.
The Razer Seiren V3 Pro is a professional dynamic microphone for livestreaming, podcasting, gaming, voice recording, and music production. It is designed for close voice capture, with controls and monitoring tools that help you dial in your sound before you go live or start recording.
Before getting into processing and deeper audio controls, start with three things: how the microphone picks up sound, where you position it, and how you set your gain .
1. Why a Dynamic Microphone Works Well Up Close
If you create content in a bedroom, gaming setup, or shared space, your microphone may capture more than your voice. PC fans, air conditioning, keyboards, and nearby conversations can all find their way into a recording.
The Razer Seiren V3 Pro uses a custom 30 mm dynamic capsule designed for close-range voice capture. Its cardioid polar pattern focuses primarily on sound coming from the front of the microphone while reducing pickup from the sides and rear.
Used at close range, this helps keep your voice more prominent while making surrounding sounds and room reflections less noticeable.
2. Microphone Placement: Keep Your Voice Close
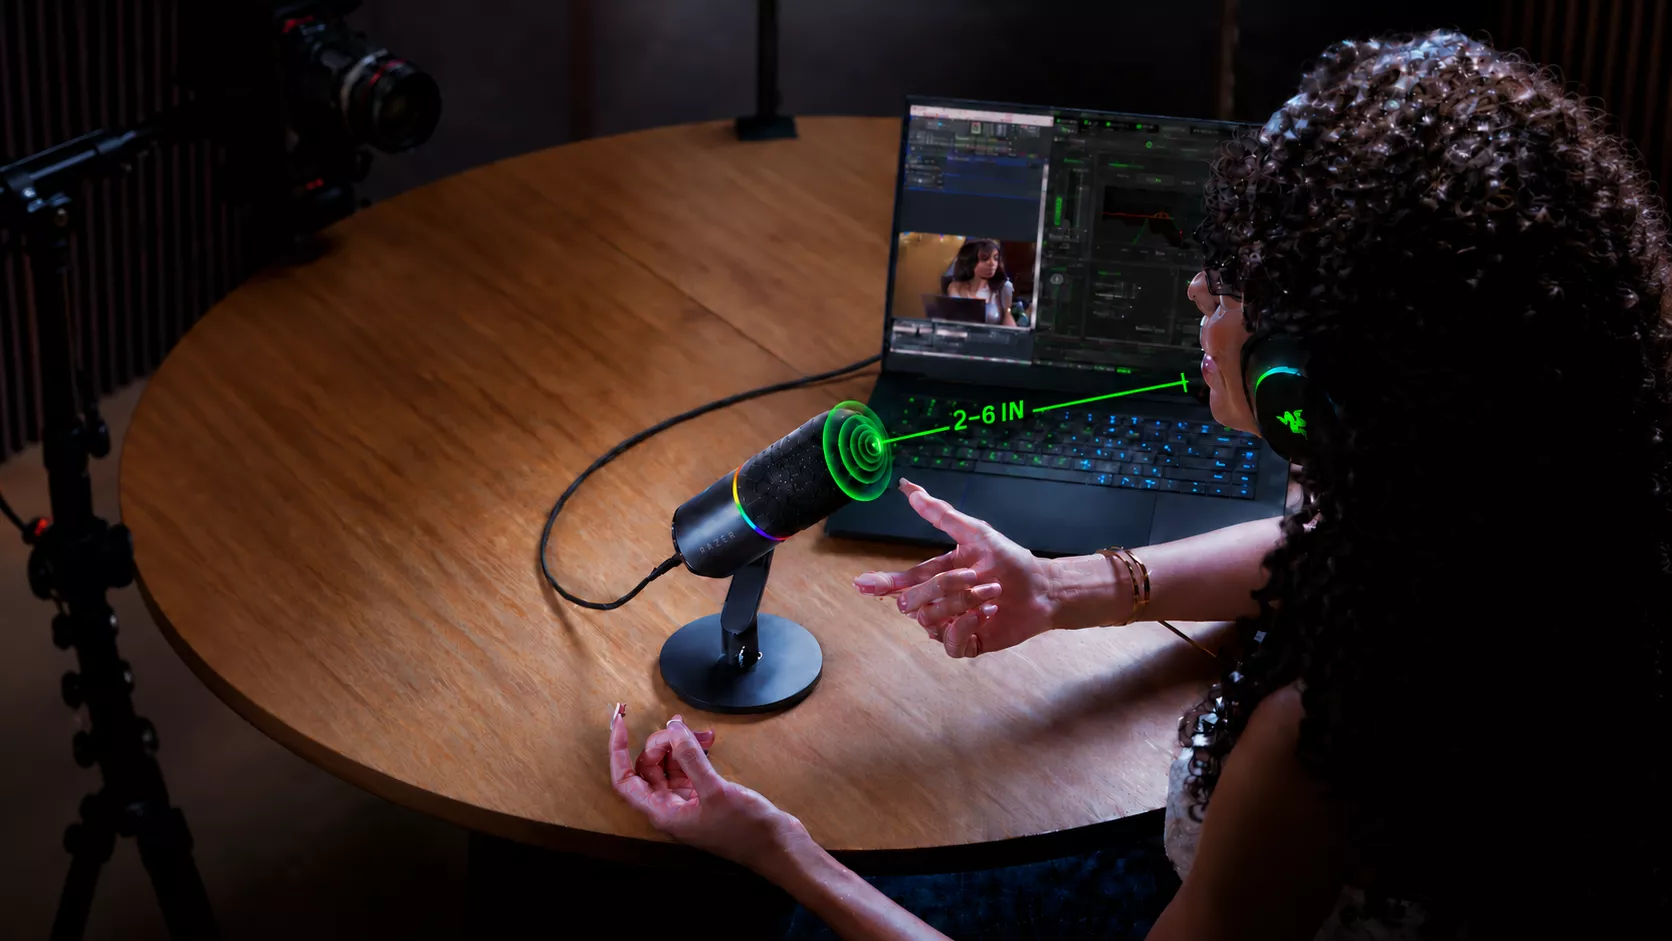
Where you place Razer Seiren V3 Pro makes a big difference to how you sound.
If the microphone sits too far away, you may need to increase the gain to compensate. That raises the level of everything the microphone captures, including sounds from around your setup.
Bringing the microphone closer gives your voice a stronger signal from the start.
Start 2 to 6 inches from your mouth. This gives you a practical starting point for clear, full voice capture. Try to keep a similar distance as you speak so your levels stays more consistent.
Point the top of the microphone toward your mouth. Speak toward the pickup area rather than the side. Moving closer can also add bass and warmth to your voice. This is called the proximity effect. If your voice sounds too bass-heavy, move back slightly.
Choose a position that fits your setup. The included vibration-dampened desk stand helps reduce vibrations traveling through your desk. A boom arm gives you more freedom to bring the microphone closer without taking up space around your keyboard and mouse.
The goal is to find a position that sounds natural, stays comfortable, and works with the way you create.
3. Set Your Microphone Gain with Razer Synapse Sound Check
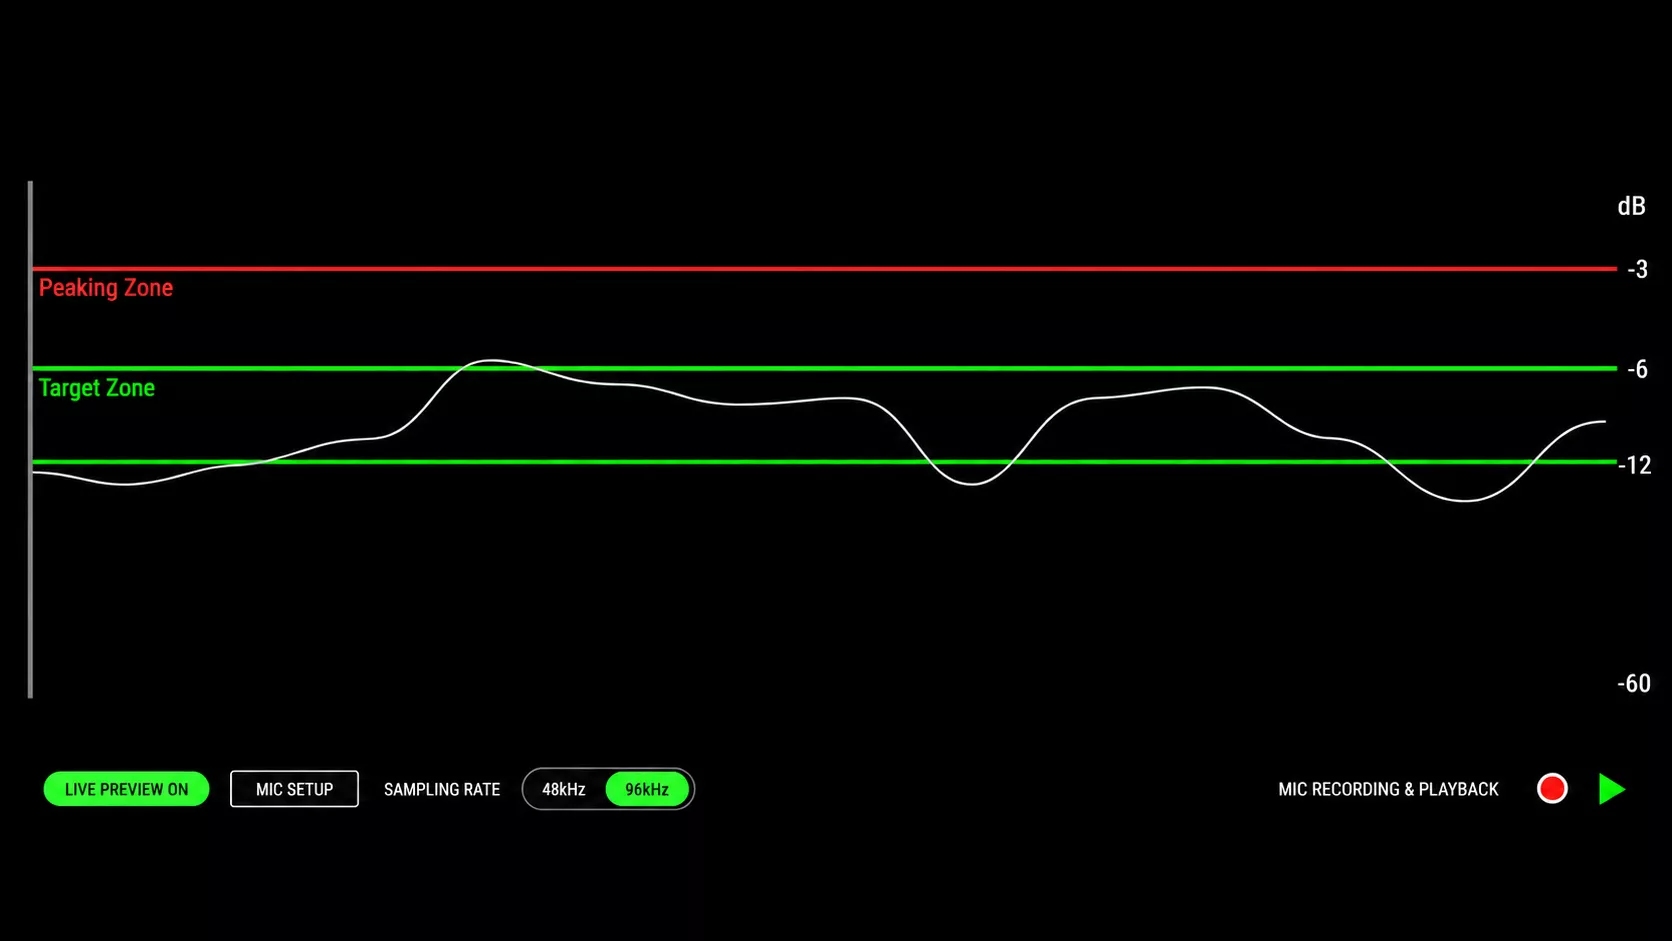
Once the microphone is in position, the next step is setting a recording level that works for both normal speech and louder moments. Razer Synapse Sound Check gives you a visual reference for your input level before you start streaming or recording.
As you speak, an on-screen waveform shows your voice level against two color-coded zones:
- Target Zone (green): Aim to keep your voice mainly in this zone for a suitable recording level.
- Peaking Zone (red): If your voice repeatedly reaches this zone, your level is too high and may cause distortion – a harsh or crackling sound.
Speak the way you normally would during your content and watch how your voice registers. If your streams tend to include louder reactions, test those too.
If your level is consistently too low, increase the gain or move slightly closer to the microphone. If you are regularly peaking too high, lower the gain or move slightly farther away.
You can also adjust the gain directly using the front dial on the Razer Seiren V3 Pro. If you change your microphone position later, run another quick check to make sure your levels still make sense.
A few minutes spent dialing this in gives you a more consistent foundation before any additional processing comes into play.
4. Hear Your Microphone with Real-Time Monitoring
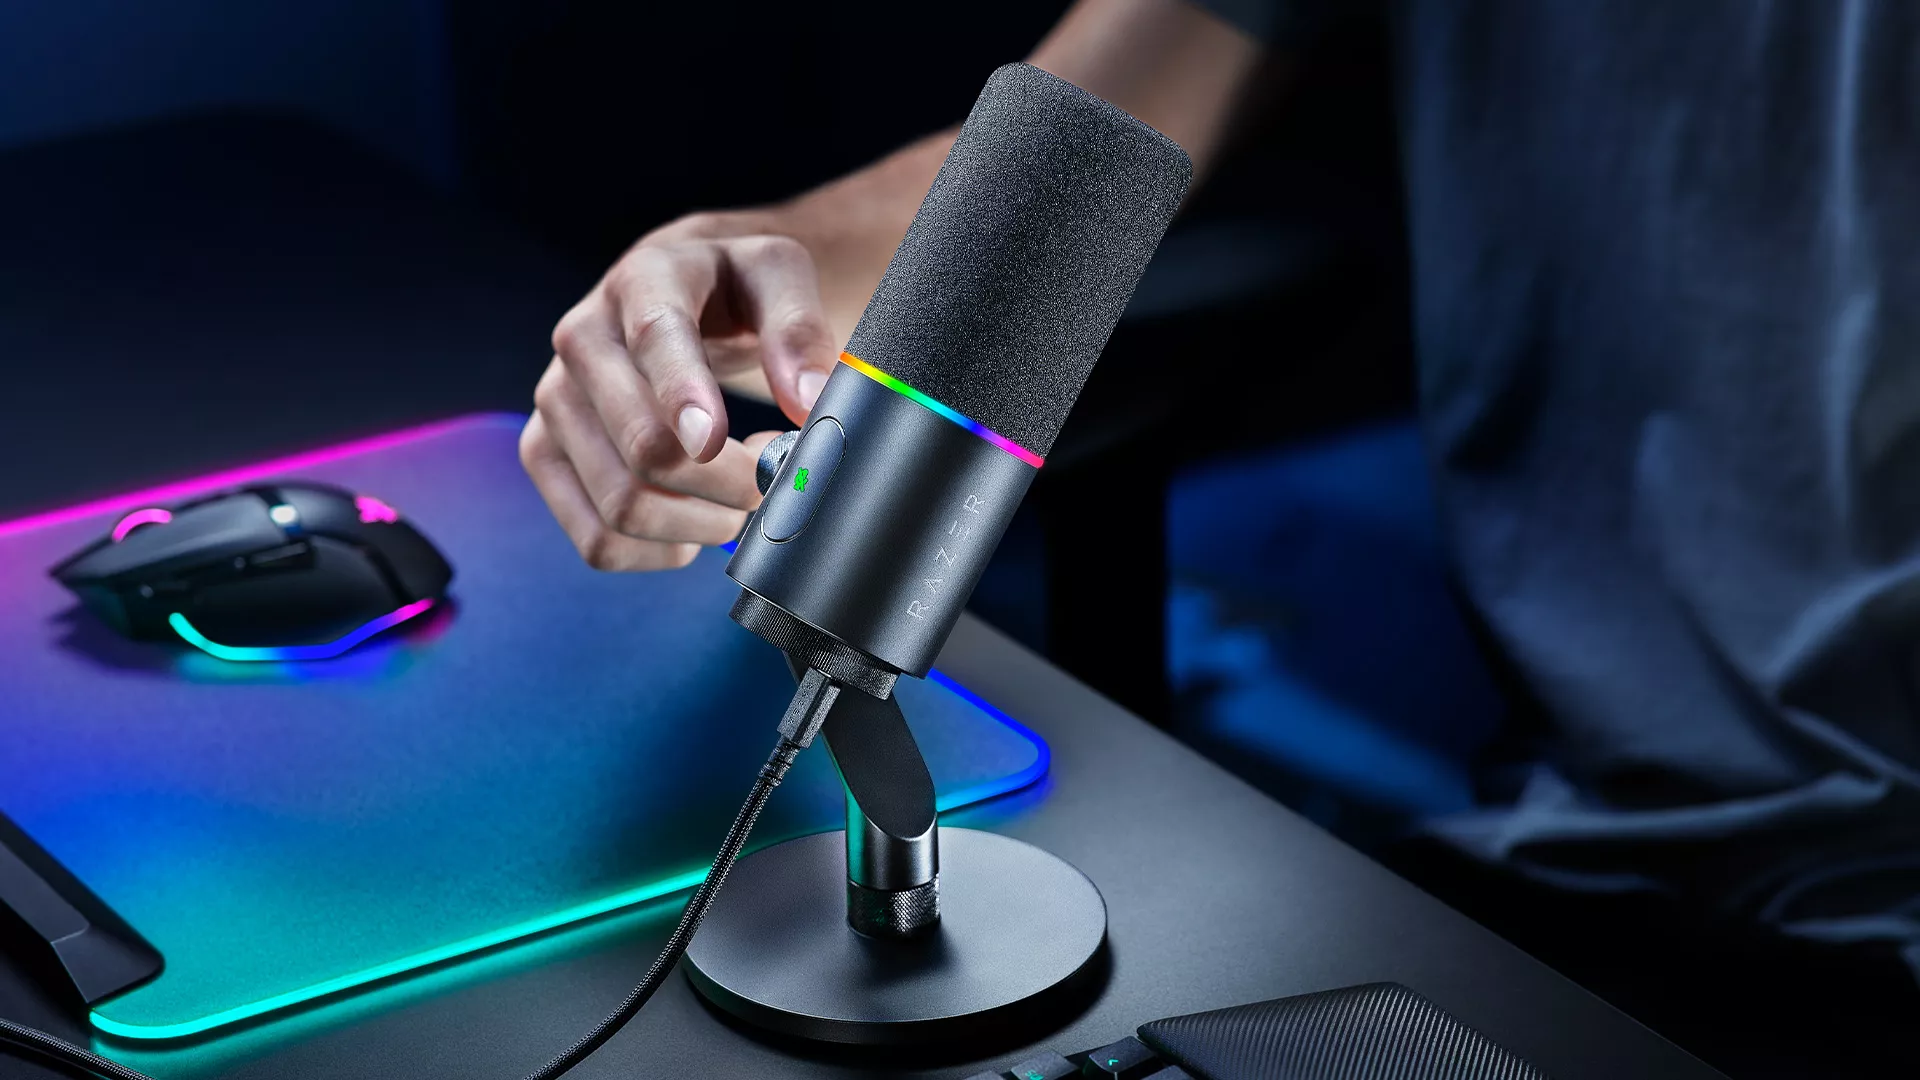
Monitoring your microphone can help you catch small issues before your audience does.
Connect headphones to the microphone’s 3.5 mm monitoring jack to hear what the microphone is picking up as you speak.
Listen for how your voice sounds, whether your positioning adds too much low end, or whether keyboard and room noise are becoming more noticeable than you want. From there, you can make small changes to placement or gain before you start recording.
For quick control during a stream, the tap-to-mute control lets you mute instantly. The Razer Chroma RGB lighting ring shows mute, gain, and peak status at a glance, helping you keep track while staying focused on your content.
With placement and gain sorted, you already have the foundation for better microphone audio. From here, you can start using the Razer Seiren V3 Pro’s processing tools to shape that signal further.
Get the Fundamentals Right First
Better microphone audio starts with a few simple habits: keep the mic positioned where it can capture your voice effectively, set your gain for the way you actually speak, and monitor your sound before you go live.
Once those fundamentals are in place, the Razer Seiren V3 Pro gives you a solid foundation for streaming, podcasting, gaming, and other content creation setups.
Explore the Razer Seiren V3 Pro and dial in a setup that works for the way you create.
